Moxo’s automation streamlines project management by creating and updating items in Monday.com with real-time data from your Flows Workspaces. Tasks and updates are automatically uploaded to the right boards and groups, enhancing visibility and eliminating manual tracking. With seamless synchronization, teams stay aligned, efficient, and always up to date across workflows.
Adding a Monday.com Automation to a Flow Template or Instant Flow:
- Open the Flow Builder and navigate to where the automation will be added.
- Drag and drop Automations from the left-hand panel under Control, or click the + button between actions in the Flow, and select Automation.
Adding a Monday.com Automation to a Live Flow:
- Navigate to the desired Flow Workspace.
- Click on the “...” ellipsis icon.
- Select + Add New Action from the dropdown.
- Scroll down to choose Automation under Control.
- Locate the step where automation is required and click + Add Here.
Step 1: Set Up App and Event
- Select Monday.com as the application.
- Choose one of the following events:
- Create Item
- Update Item
- Create Subitem
- Update Subitem
Step 2: Account Setup
- Click Connect to add an account, or click Choose to select from a pre-configured account.
- Once connected, click Next to proceed.
Step 3: Add Input Details
Depending on the selected event, fill in the required fields.
If you choose "Create Item":
- Fill in the following details:
- Board ID*: Enter the target board where the item should be created. You can find it by navigating to the Monday.com board and then checking the URL.
- Group ID: Specify the group within the board.
- Item Name*: Provide the name/title of the new item.
- Sub-Item Name: Enter the sub-item name if applicable.
- Owner: Select the owner from the dropdown.
- Status: Select the status of the task from the dropdown.
- Leverage DDR (Dynamic Data Reference) wherever applicable by clicking on the "{.}" autofill icon to pull workspace and metadata from previous actions.
- Once filled, click Next, review the configuration, and then Add Automation to save.
If you choose "Update Item":
- Fill in the information as applicable:
- Board ID*: Enter the board where the item resides. You can find it by navigating to the Monday.com board and then checking the address bar.
- Item ID*: Add the specific Item ID. You can use DDR from the previous Monday automation or Workspace Variables.
- Owner: Select the owner from the dropdown.
- Status: Select the status of the task from the dropdown.
- Leverage DDR (Dynamic Data Reference) wherever applicable by clicking on the "{.}" autofill icon to pull workspace and metadata from previous actions.
- Once filled, click Next, review the configuration, and then Add Automation to save.
If you choose “Create Subitem”:
- Fill in the following details:
- Parent Item ID*: Specify the ID of the parent item under which the sub-item will be created.
- Subitem Name*: Enter the name or title for the sub-item you want to create.
- Leverage DDR (Dynamic Data Reference) wherever applicable by clicking on the "{.}" autofill icon to pull workspace and metadata from previous actions.
- Once filled in, click Next, review the configuration, and then Add Automation to save.
If you choose "Update Subitem":
- Fill in the following details:
- Board ID*: Choose the relevant Board ID for sub-items that you have already created in the external application and click Next.
- Owner: Select the owner from the dropdown.
- Status: Select the status of the task from the dropdown.
- Leverage DDR (Dynamic Data Reference) wherever applicable by clicking on the "{.}" autofill icon to pull workspace and metadata from previous actions.
- Once filled, click Next, review the configuration, and then Add Automation to save.
Managing the Monday.com Automation
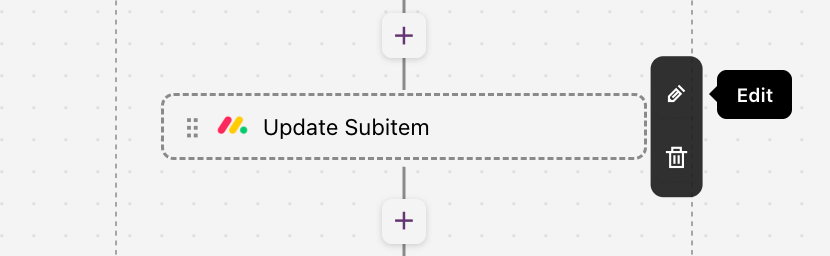
- Hover over the automation step you want to modify.
- Click the Edit icon to adjust the app, event, account type, or input fields as needed.
- Click Save Changes to apply your edits.
- Click on the Delete icon if you wish to delete the automation.
Automations can only be edited in saved flow and action templates or live workspaces where the automation is incomplete. Once the automation step is completed, it cannot be reopened or edited further.
Mapping Automations and Events in a Flow
Once a flow is initiated, click on the “...” ellipsis icon next to the flow workspace name and select Automations & Events.
Here, you can view all upcoming and completed automations and events.
Mapping the Trigger in the Third-Party App
To view the changes in the third-party app:
- Go to the Monday.com platform.
- Based on the input provided within the flow, an event will be triggered in the relevant section.
- For example, if you select “Create Item” as an event, the event will appear in the mentioned Group ID. It will reflect all the input details such as Item Name, Sub-Item Name, Owner, and status.
Best Practices:
- Pre-configure your Monday.com account and have board IDs available for smoother setup.
- Use DDR to dynamically link user inputs, form data, and metadata.
- Regularly audit automations in your flow to ensure they align with updated processes or project phases.