The Files section is designed to simplify the process of locating shared files within a workspace. Rather than searching through chat history in the interaction panel, users can access the files section and promptly find the specific file they need.
Each workspace has its own Files section, serving as a dedicated space for users to conveniently store files shared within the workspace.
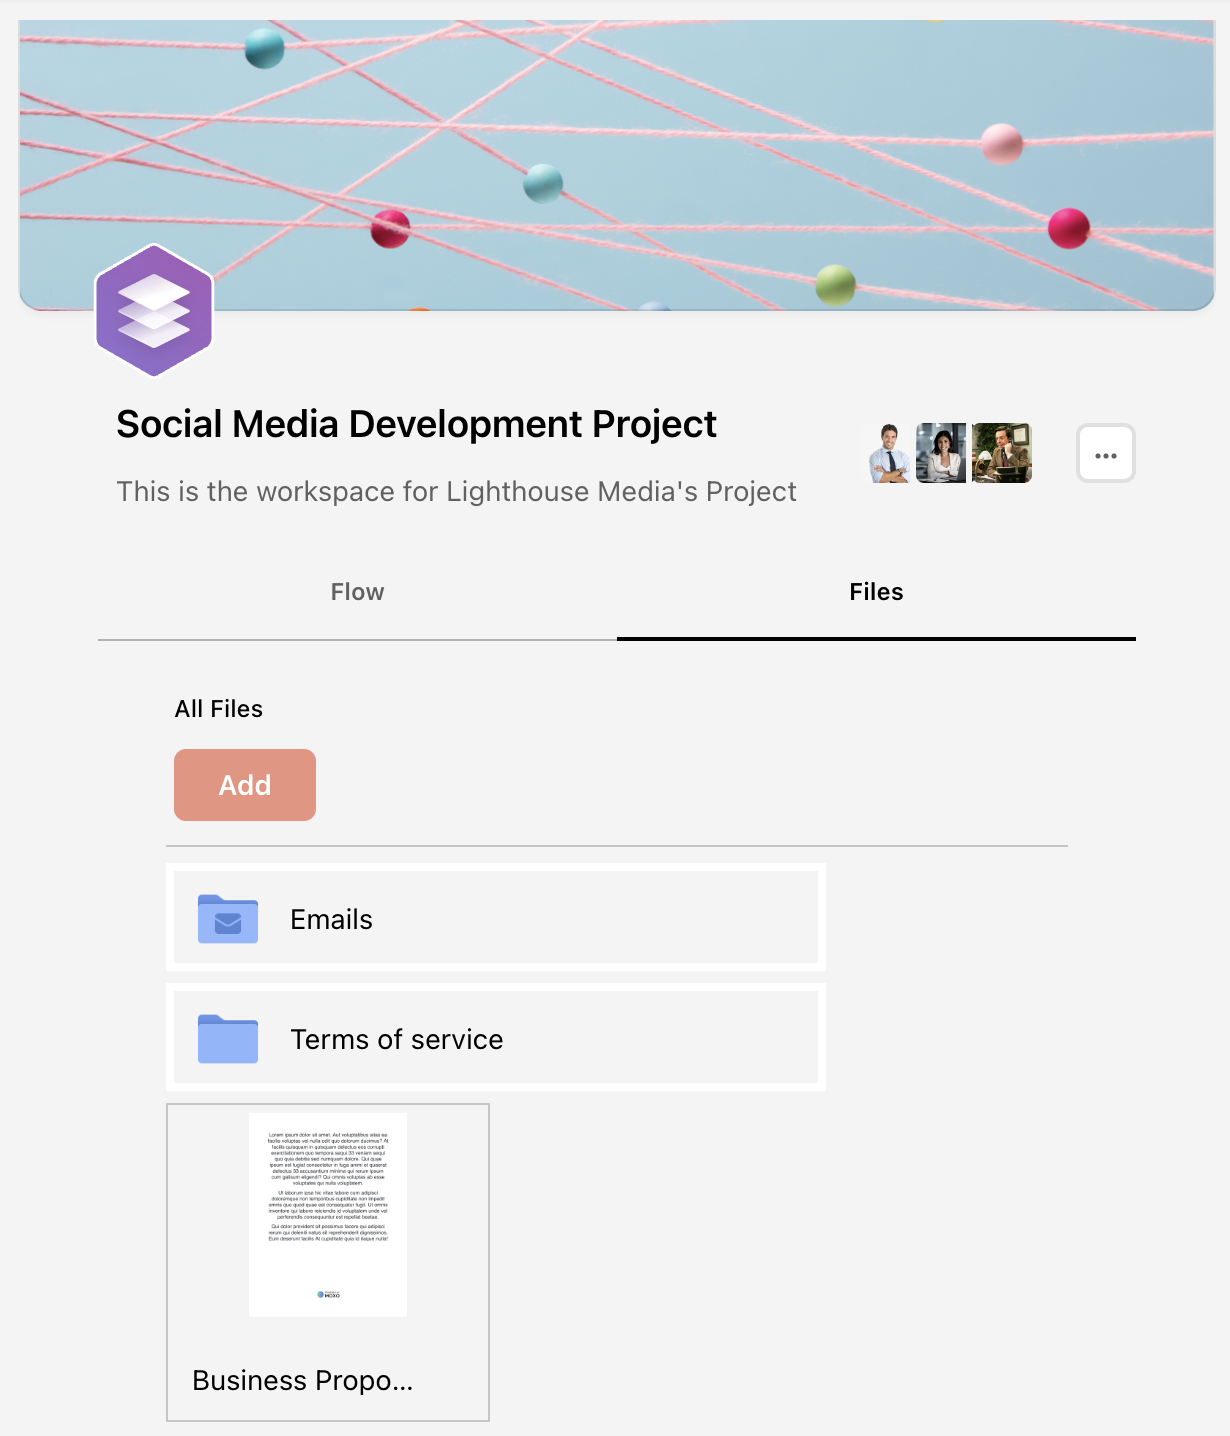
Where to Find the Files Section
Once you are inside a Flow workspace, simply click Files to access the documents shared in this workspace. The files section can be found next to the Flow section.
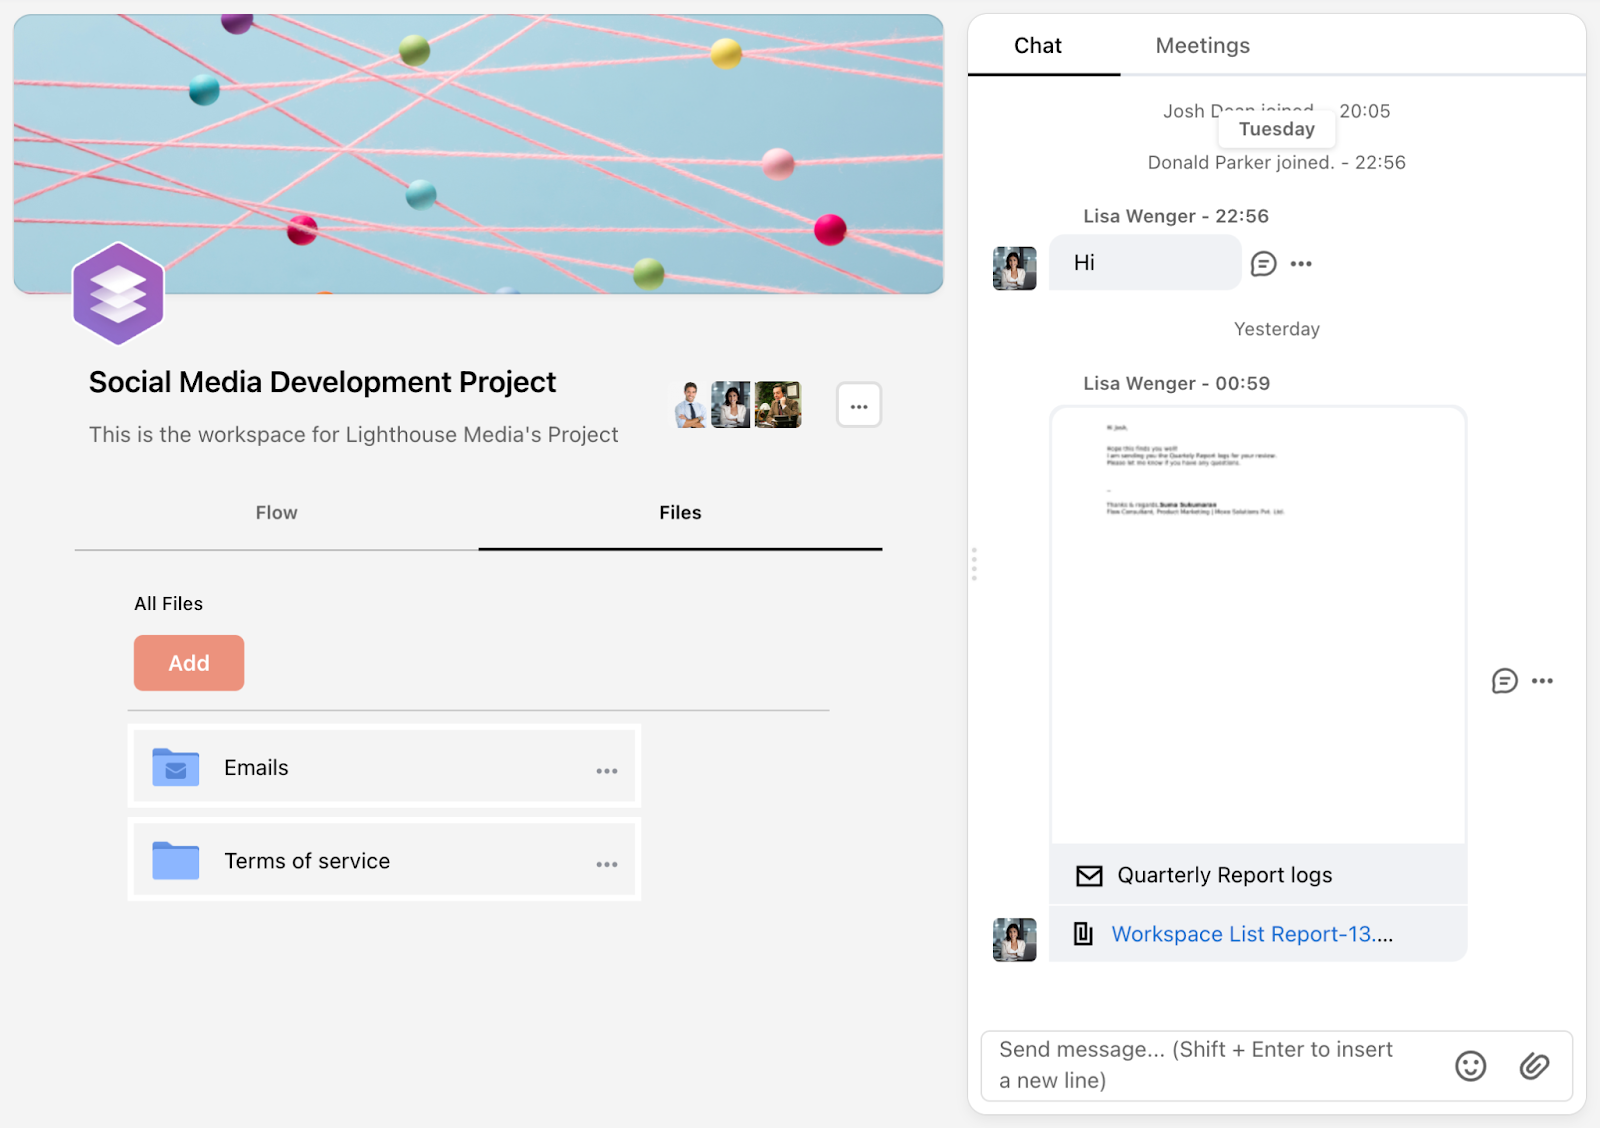
Using the Files Section
The files section provides a convenient solution for organizing and efficiently managing files within the workspace.
To share files in a workspace, just click Add within the files section, and upload a file from your computer or the content library.
Any files shared in the chat section of the interaction panel will automatically appear in the files section.
Managing Files
To manage a file efficiently, click on the “...” ellipsis icon next to the file you want to work with. This will open a menu with several file management options:
- File Info – View detailed information about the file, including who uploaded it, the file type (e.g., PNG, JPEG), and the creation date.
- Download – Download the file directly to your device.
- Copy To – Duplicate the file and place it in any workspace of your choice.
- Move To – Move the file either to the workspace's general file section, an existing folder, or a newly created folder. You can also add comments related to the file before selecting Move.
- Rename – Assign a new name to the file for easier identification.
- Bookmark – Add the file to your bookmarked items within the workspace for quick access later.
“Move To" and "Rename" file permissions can be enabled or disabled at the role level (internal and client),to give you more precise control over who can manage files.
To enable these permissions, please reach out to your Success Manager or contact our Support Team.
Folders
Folders provide an organizational system within the files section, offering a seamless way to categorize and efficiently manage files. By leveraging folders, users can easily sort and locate the specific files they need.
Creating Folders
To create folders:
- Click Add in the files section.
- Select Folder.
- Enter a name for the folder, then click Create. Your folder will appear in the files section.
Adding New Files into a Folder
To add new files into a folder:
- Enter the folder of choice.
- Click Add.
The folder name you are currently in is displayed to the right of ‘All Files’.
Moving Files into a Folder
To move files into a folder:
- Click on the circle located at the top right corner of the files you would like to move to a folder.
- Next, click on the ‘Move To’ icon at the top.
- Select the folder you want to move the selected files to, and click Move.
Download a Folder
To download a folder with all its contents:
- Click on the ellipses '...' icon at the right of the folder.
- Select Download.
Rename a Folder
To rename a folder:
- Click on the ellipses '...' icon at the right of the folder.
- Select Rename.
- Enter the new folder title or edits to the existing title. Once done, click Update to save the changes.