The Broadcast feature provides a powerful tool for mass communication, enabling you to send messages or files to multiple recipients directly to the client Inbox or One-on-One Workspace. Broadcasts can be sent to both active and pending users, enabling proactive communication that drives clarity and engagement from the start. This is especially valuable for sharing information on a new promotion or product, seasonal greetings, updating clients on policy changes, and or sharing other important announcements relevant to multiple accounts.
The Broadcast feature is only available in the Portal Package, or if you have purchased chat workspaces as an add-on.
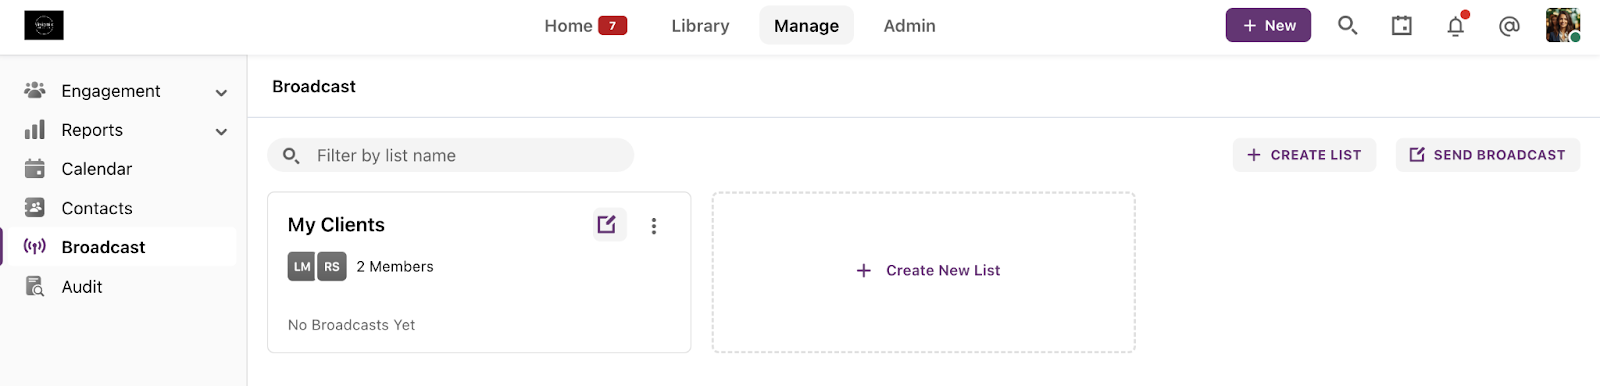
You can access Broadcast from the Manage tab in the top navigation bar.
Using Broadcast
The Broadcast feature allows admins and internal users (with permission) to broadcast messages and files to one or multiple clients directly into their one-on-one workspaces or Inbox.
Creating a new Broadcast:
- Go to the Manage page in the Admin Portal.
- Select Broadcast from the left side toolbar and click on + New Broadcast.
- Fill in the broadcast details:
- Broadcast Content: Add a customizable message and attach documents such as invoices, receipts, or other files from your desktop, library, or the available options in the 'Add Attachment' dropdown menu.
- Broadcast Name: Enter a broadcast name (up to 50 characters).
- Send To: A User List, Specific Users, Client Distribution List, or All Clients
- Delivery Channel: Select 'Inbox' to send the broadcast directly to the inbox, or choose 'One-on-One Workspace' to send the content there.
- Broadcast Time: Send an Instant broadcast or schedule a time for the broadcast to go out.
- Once all details are filled, click Create to send the broadcast message.
If you select Inbox, broadcast messages will be sent to the Client Inbox.
“All Clients” and “Client Distribution List" only show to admin users.
Delivery Channel Logic:
- If "Send To" is set to "User List" or "Specific Users," the delivery channel options are "1:1" or "Inbox."
- If "Send To" is set to "All Clients" or "Client Distribution List," the only available delivery channel is "Inbox."
- If the "Send To" option is changed, reset the delivery channel if the new combination is invalid.
Managing Broadcasts
- A list view of all past broadcasts is available. Columns include: Broadcast Name, Send To, Delivery Channel, Broadcast Time, Status, and Created At.
- The broadcast status can be:
- Processing: The broadcast is either queued or in progress. The status will update to 'Completed' once finished.
- Scheduled: The broadcast is set to be sent at a specific date and time. Once sent, the status will change to 'Completed.'
- Completed: The broadcast is marked as 'Completed' once it has been successfully sent to all recipients.
- To export the broadcast history:
-
- Click on Export to download a CSV file.
- Use the search bar to filter broadcasts by name.
-
- Editing a broadcast:
- Click on the “...” ellipses icon next to the desired broadcast you wish to edit or delete.
- Only unsent broadcasts in 'Scheduled' status can be edited or deleted.
User Lists
Click on User Lists to create and manage your broadcast user lists.